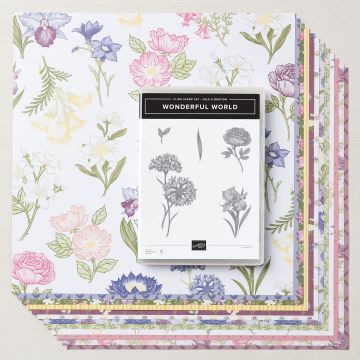
Crafty Collaborations is a group of Stampin’ Up! demonstrators from around the world who collaborate on various projects like this blog hop. The theme today is Throwback Thursday where we take an old card or project and remake it. Today, I’m featuring the Wonderful World bundle which is part of the Summer Sale-a- bration (SAB) offering. And, that means it’s free with a $100 purchase!
Today’s Project – Wonderful World
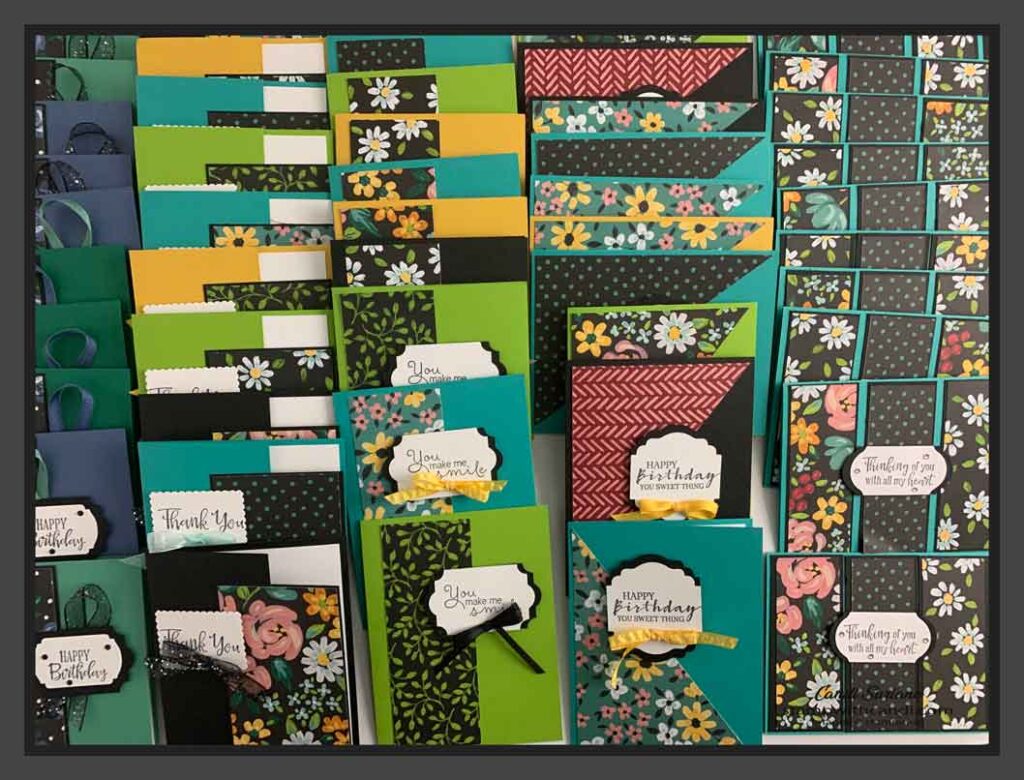
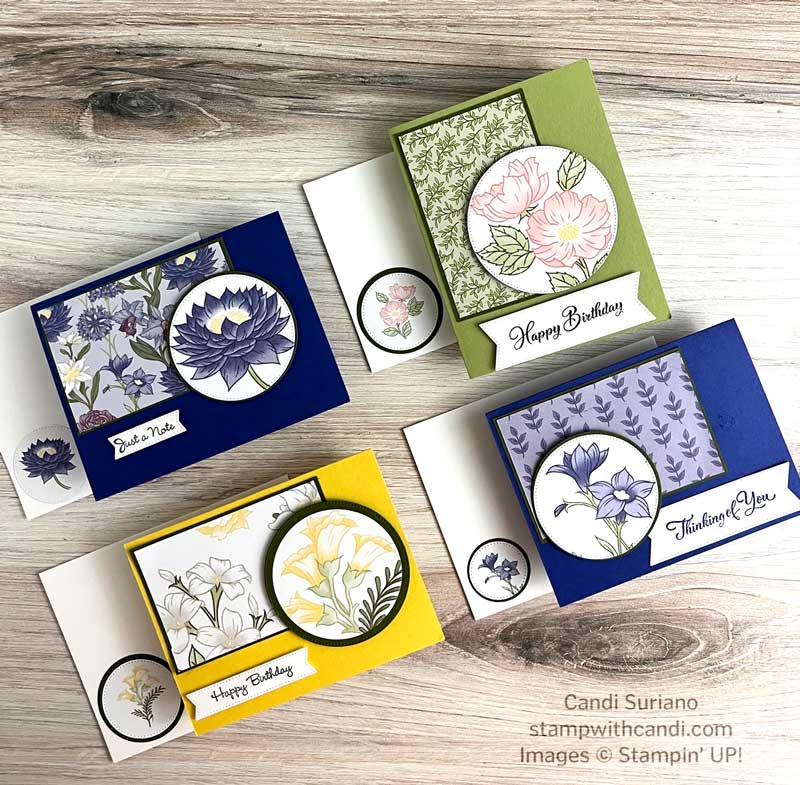
Last year during Sale-a bration, I posted a one-sheet wonder using a DSP from SAB. There’s an image below of the cards I made. I needed a stash of cards so I made multiples of the same. You can find that post here.
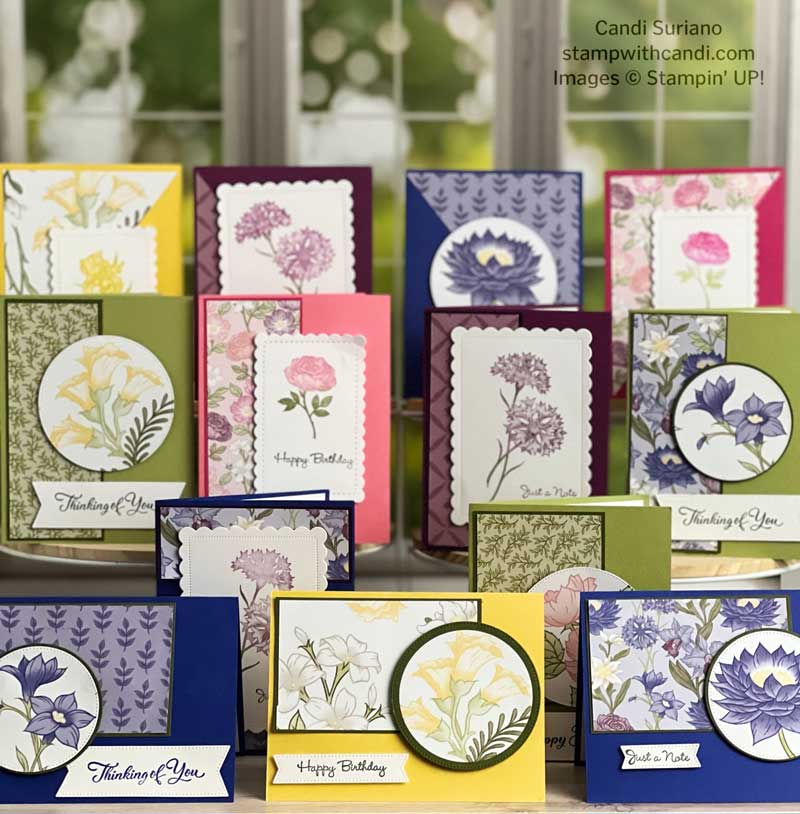
Below are the cards I made to remake the One Sheet Wonder (OSW). I have to admit, I like the remake much better. It’s funny because last year I loved the original. But, now they look a little dated and the new ones look fresh and pretty. That may be because the Wonderful World DSP is lighter and brighter than the Field & Flowers DSP from last year.
The pattern for this OSW is pretty easy. Take 3 coordinating pieces of 4″ X 12″ DPS. Cut them into 4″ X 5 1/4″. You’ll have three 4″ x 1 1/2″ pieces left. Now take 2 of the 4″ X 5 1/4 pieces (different patterns) and cut them in half on the diagonal. Then take 2 more of the 4″ X 5 1/4″ pieces (different patterns) and cut them in half vertically. Finally, take the last two pieces of 4″ X 5 1/4″ pieces and cut them in half horizontally.
Wonderful World – Free Until August 31 with $100 Purchase
I really love this bundle. The flowers are so realistic and the paper is simply gorgeous. Plus you can use dies to cut out some of the larger flowers to use them directly as focal images and not just a layer of DSP. And finally, it’s full of flowers. And as regular readers know, I love flowers. They just make me smile!
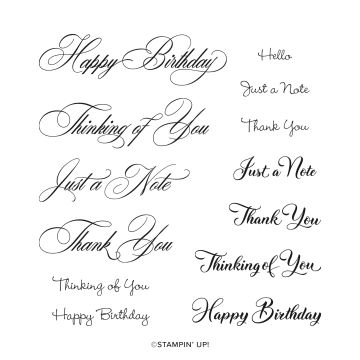
Go To Greetings
If you don’t have this stamp set yet, you need to get it ASAP! Six of the most common greetings in various sizes and fonts!!! Who doesn’t need it??? I hope it never retires as it’s become one of my favorite (Go To) stamp sets.
Stylish SHapes Die Set
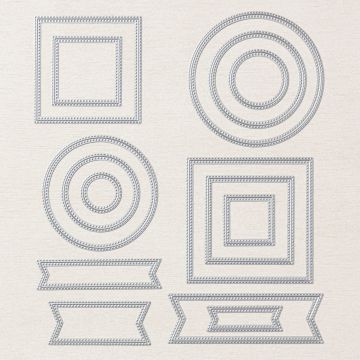
Stylish Shapes is a new die set introduced in the 2022-2023 Annual Catalog. And it’s another must-have in my opinion. It cuts 4 different stitched banners, 5 stitched squares, and 6 stitched circles. Together with the Stitched Rectangle dies you can cut any shape you need with stitching for your card fronts! Another item I hope doesn’t retire for a very long time!
Today’s Color Palette
Today’s color palette comes mainly from the Wonderful World Designer Series Paper. I added Blackberry Bliss because there were a few cards where I wanted a darker mat or flower.
I love this color palette because it’s what I see when I look out the window in my craft room. Yellow, pink, and purple flowers with green leaves are so cheerful and make me smile.
You Can Make It, Too!
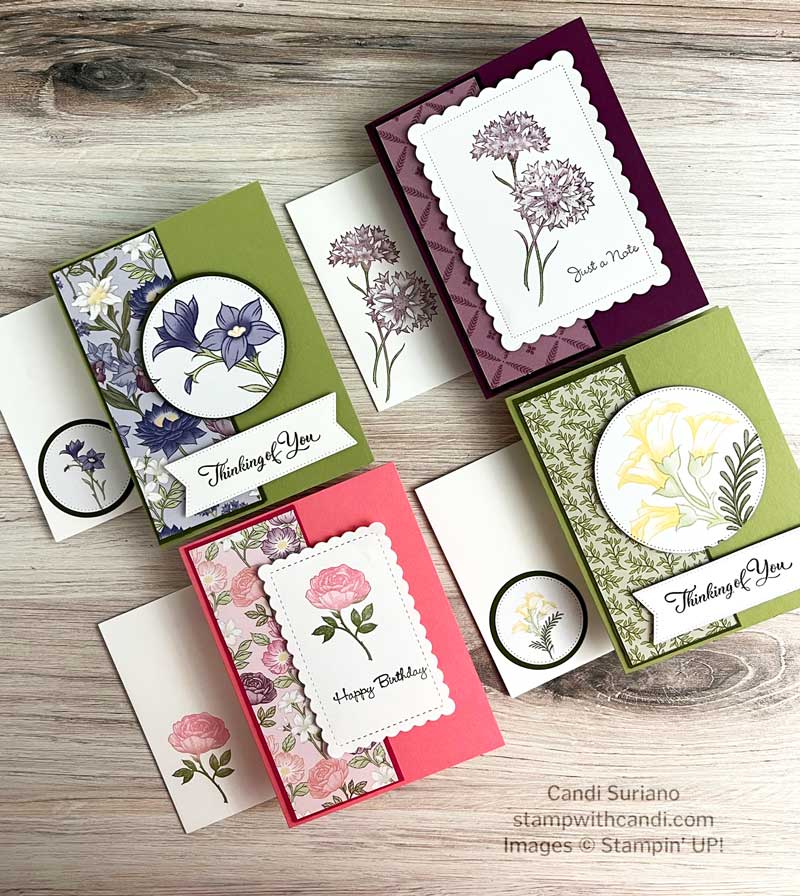
Let’s start with the vertical strips from our OSW. I matted the DSP in a coordinating color and attached it to the card front.
Create the focal Images
For two of the cards, I cut one of the flowers from the DSP using either the Stylish Shapes or Layering Circle dies. Then I matted them with a coordinating color that was also cut using either the Stylish Shapes or Layering Circle dies.
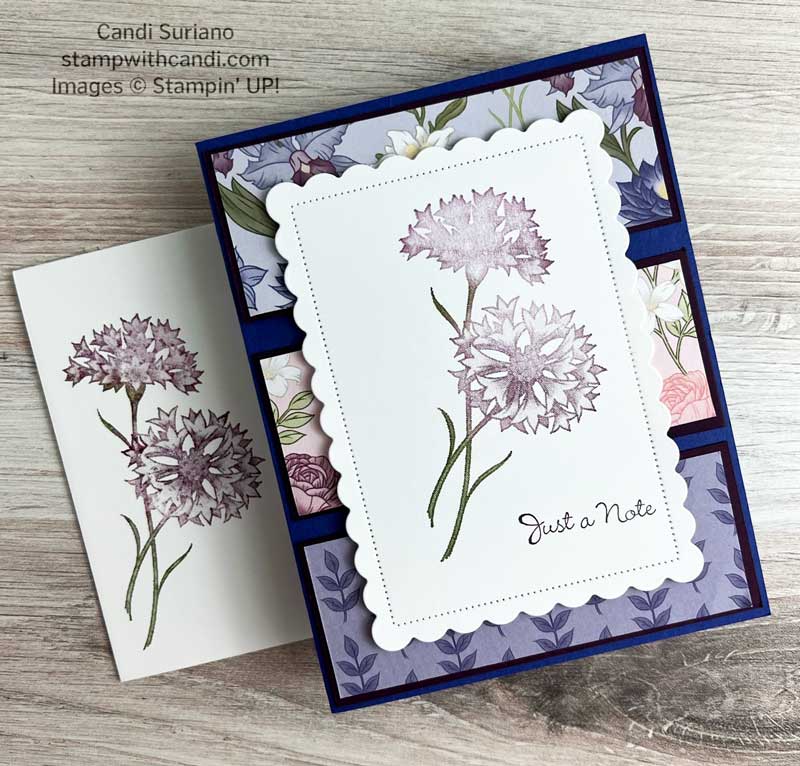
For the two other cards, I colored the stamp with blending brushes. Then I lightly spritzed them with water before stamping on a piece of Basic White cardstock that was die cut using the Scalloped dies. Lightly spritzing the stamp before stamping gives the images a more watercolored look and smooths out any overlap that comes from using blending brushes to ink the stamps.
The focal images were attached to the card using dimensionals.
Stamp The Sentiment
Finally, I stamped the sentiment using the same ink as on the focal image. As you can see, the sentiment was either stamped in the same panel as the focal image or was stamped on a scrap of Basic White and die cut using the Stylish Shapes dies.
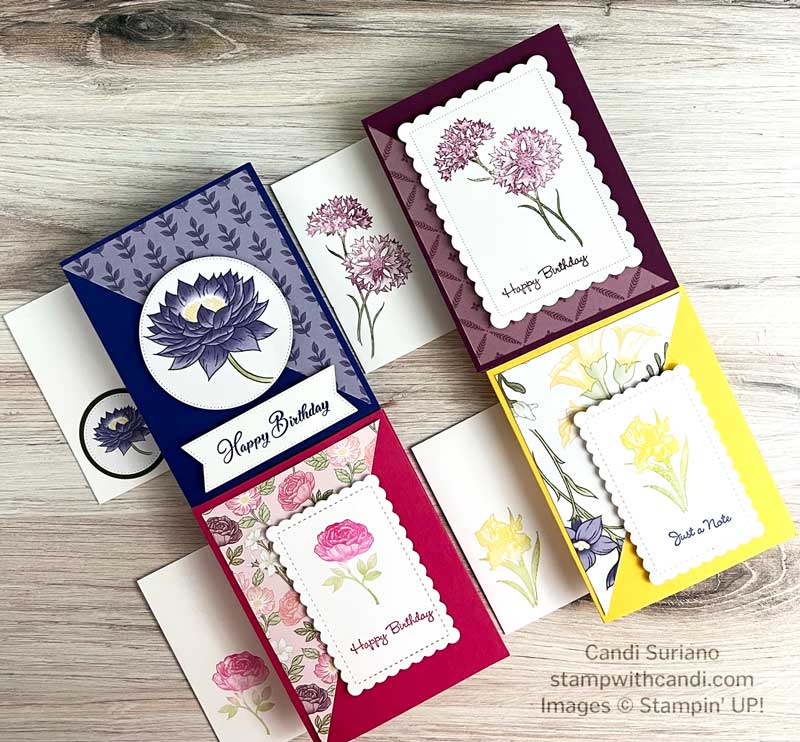
I used the same techniques for the diagonal cards except I didn’t mat the diagonal piece o DSP. However, the focal images were constructed using the same techniques as for the vertical cards.
For the horizontal pieces, I diverged from the original OSW design. In the original, I made a fun fold. For this make-over, I used the pieces as layers of DSP. Again, I matted the DSP with a coordinating color. And, I used the same technique for the focal images and sentiments.
After finishing the 12 cards, you have 3 pieces left over. I could have made these into 3 different cards. Instead, I matted them in BlackBerry Bliss attached them to a Starry Sky card base, and then covered them with a stamped image on a Scalloped die cut. Finally, the sentiment was stamped directly on the Scalloped panel using the same color as the flower.
Make The Inside Pretty
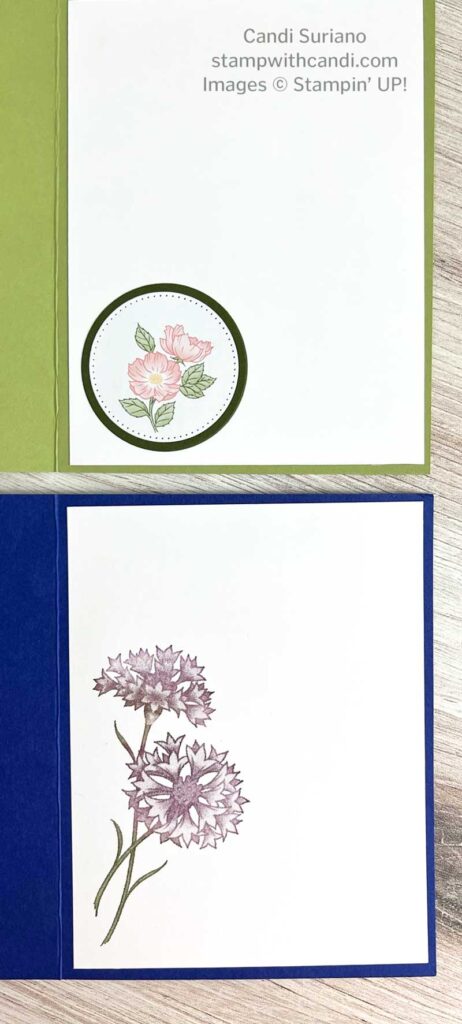
I used one of two different techniques for the inside. In the first technique, I used a die to cut out one of the smaller flowers in the DSP, matted it with a coordinating color, and attached it to the inside panel.
In the second technique, I stamped the flower using the same method as I used on the card front. The image was stamped on the inside panel before attaching it to the card in case I didn’t get a good image or it was blotchy. And that’s why there are two sides to each piece of paper. You can flip it over and cover your mistake.
Don’t Forget the Envelope
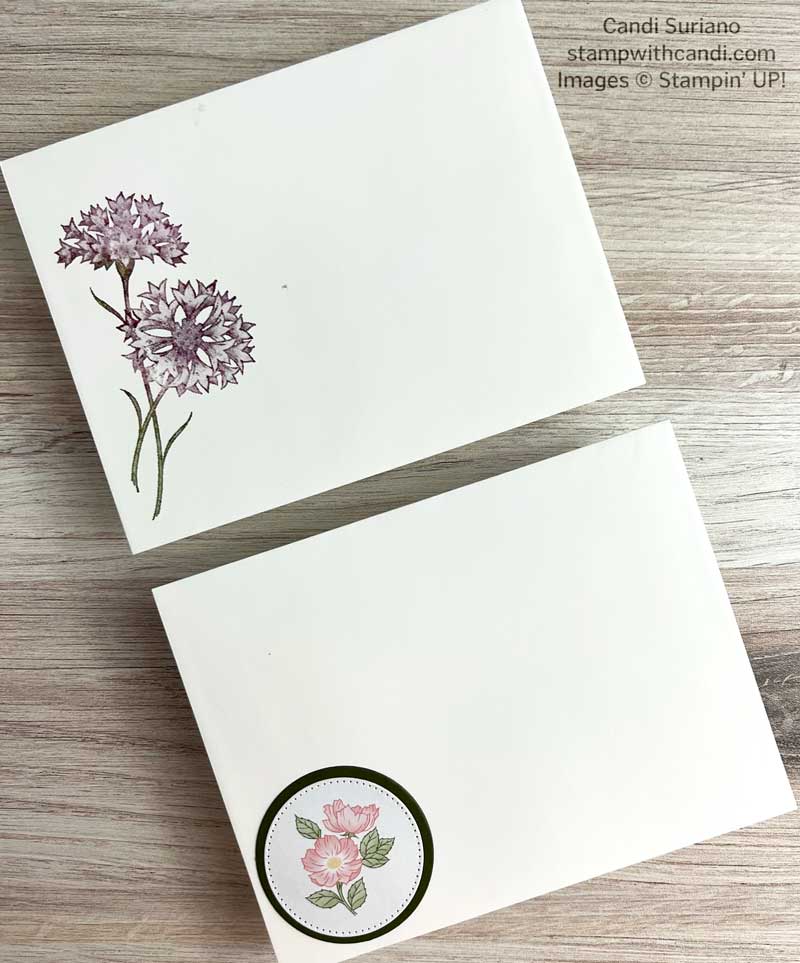
I used the same technique for the envelope as I did for the inside. There’s a temptation when doing a One Sheet Wonder (OSW) to skip the inside and envelope. But, I don’t like sending cards that don’t have a finished inside and envelope. So, I always add the inside and envelope to my OSW.
I hope you enjoyed my OSW and that you are inspired to try it! But now it’s time to see some inspiration from the other demonstrators. So, grab a beverage, sit back and relax, and enjoy the hop.
Butterfly Kisses Virtual Class
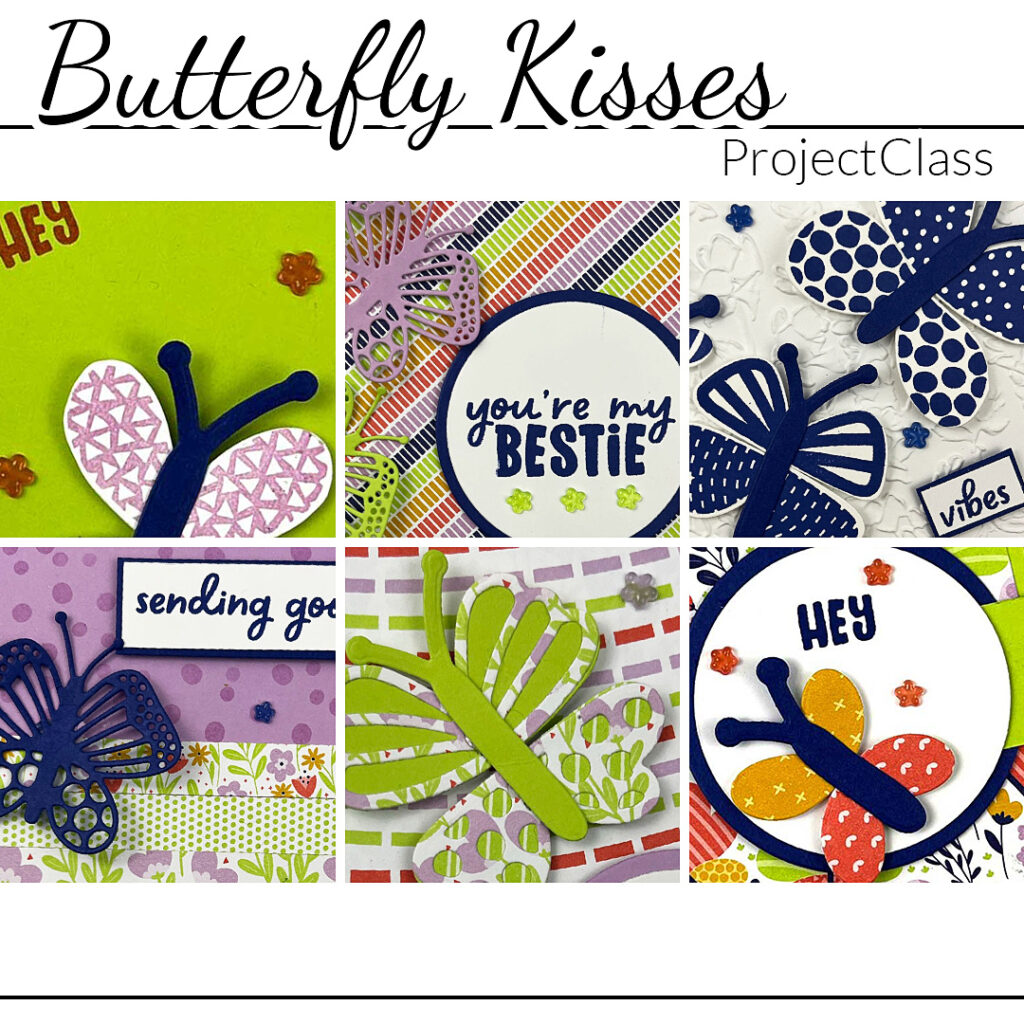
Are you looking for a virtual class with cute projects and detailed instructions and pictures? Do you like bright colorful cards? Do you like butterflies? Check out my Butterfly Kisses Virtual class. You can find the details here.
Shop Sale-a-Bration
It’s Summer Sale-a-bration! For every $50 you spend, you can select an item from the Summer Sale-a-bration catalog. Who doesn’t like free??? Click on the image above to see what’s available and start planning your order. New items have been added so click on the image to see the full list of what’s available! Need some suggestions? Let me know and I’ll help you get the most for your money!




What a great way to showcase the pretty dsp Candi x
Thanks, Mo.
Beautiful set of cards!
Thanks, Lorraine.
Gorgeous set of cards
Thanks, Sara.
That is awesome. So beautiful.
Thanks, Cathy.
What a lovely set of cards, I was playing with this bundle for the first time yesterday and I just love the flowers and the colours. Love what you have done and that go to greetings set if so good to use with a OSW 🙂
Great cards!
What a beautiful set of cards. Love them.